Drop Down Feeder Specs & Installation
Drop Down Feeder includes:
4-piece Drop Down Feeder frame with 4 screws
Choice of Easy Latch or Not-So-Easy Latch with 2 screws
Dimensions: 24”wx15”h
Hay Chute: 22”wx13”h

HAY NETS CAN BE LOADED ONTO THE FEEDER PRIOR TO OR AFTER MOUNTING THE FEEDER.
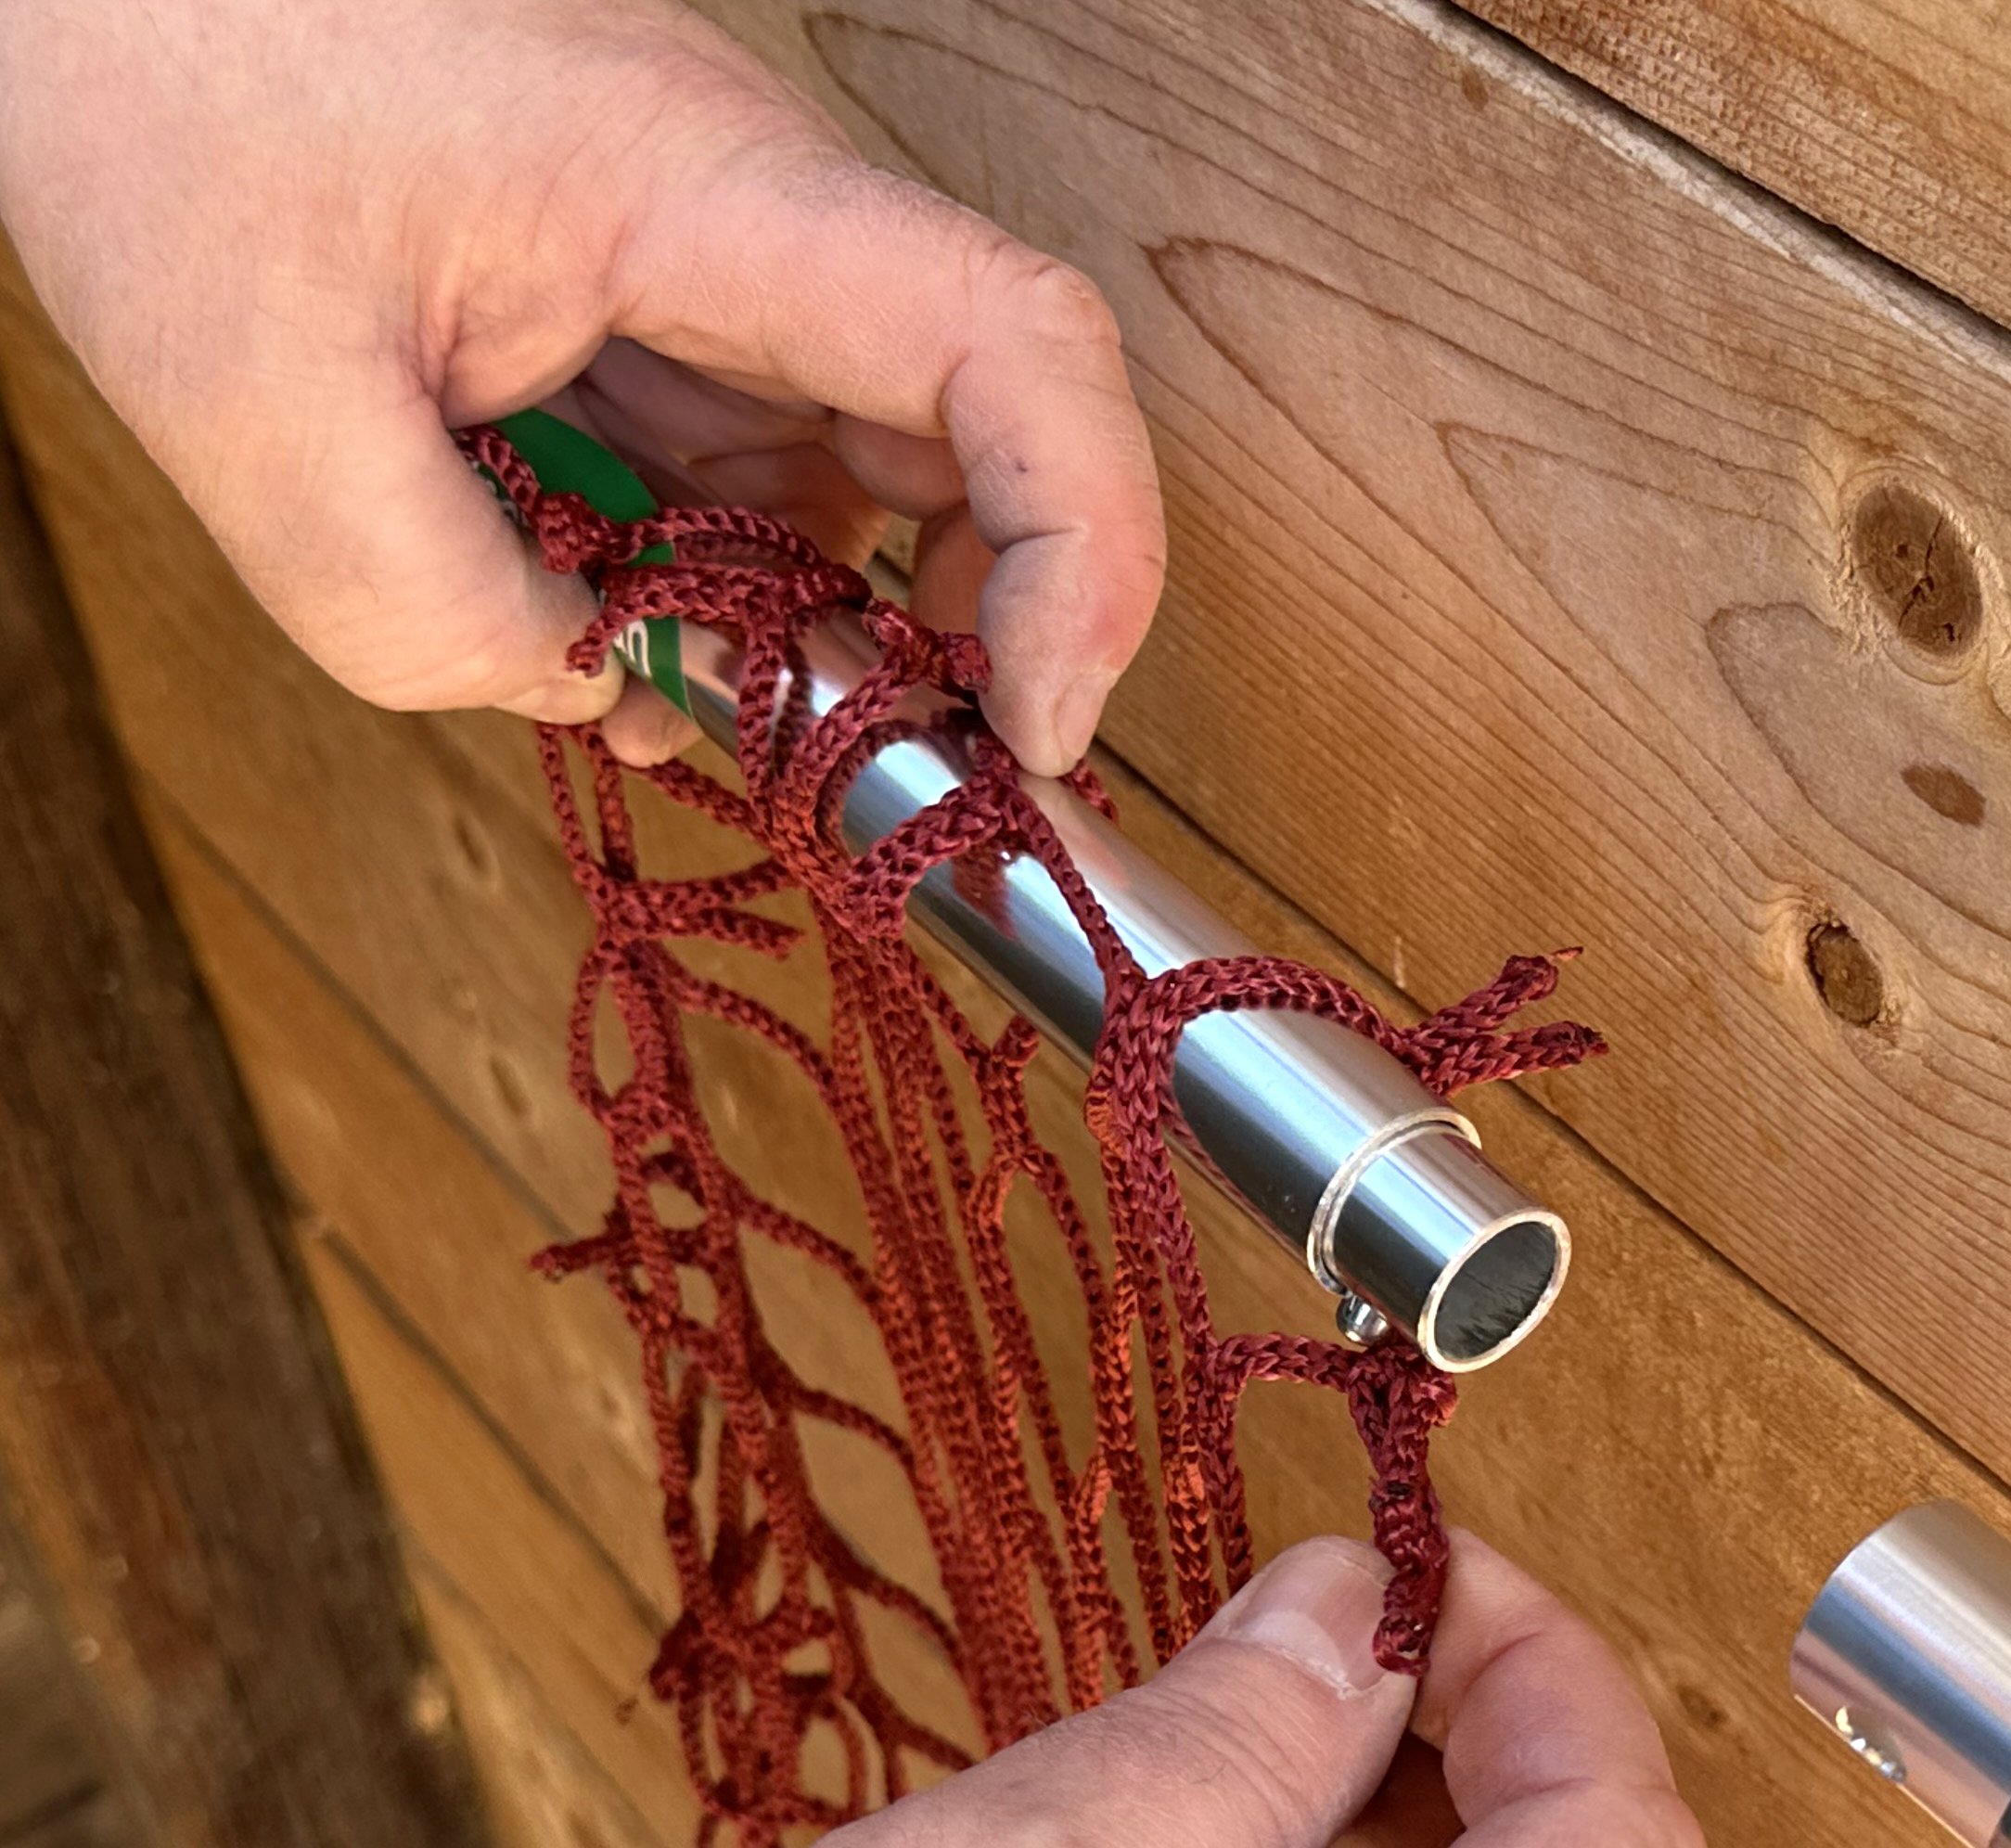
B. Find the top row of the hay net. Make sure that the carabiner that holds the net together will rest INSIDE the net as you load it onto the feeder. Horses should not be able to chew on the carabiner.
Holding the C-section of the feeder in one hand, load one loop (officially called a ‘mesh’) onto the frame, then weave each loop back and forth onto the feeder frame until about 2/3 of the loops are on the feeder. Slide the net around the frame as you load it. Lay the C-section piece of tube down.
C. With about 1/3 of the net still unattached, pick up the Lower Rail of the feeder and manually weave the remaining loops of net onto the Lower Rail until all of the net is loaded onto the feeder.
Drop Down Feeder is now ready to mount onto the fence.
Installing a hay net onto Drop Down Feeder
A. To open up the feeder, depress the (3) snap buttons shown in diagram and slide the feeder apart into 4 pieces


D. Reconnect the 2 pieces of the lower rail together until the snap button clicks into place, then re-attach the C-section onto the Lower Rail section until the snap buttons click into place. Distribute the hay net evenly around the frame.
Mounting Drop Down Feeder
A) Determine a suitable mounting location by holding the unit in the prospective location and confirming that the empty hay net rests at least 6” above the ground.
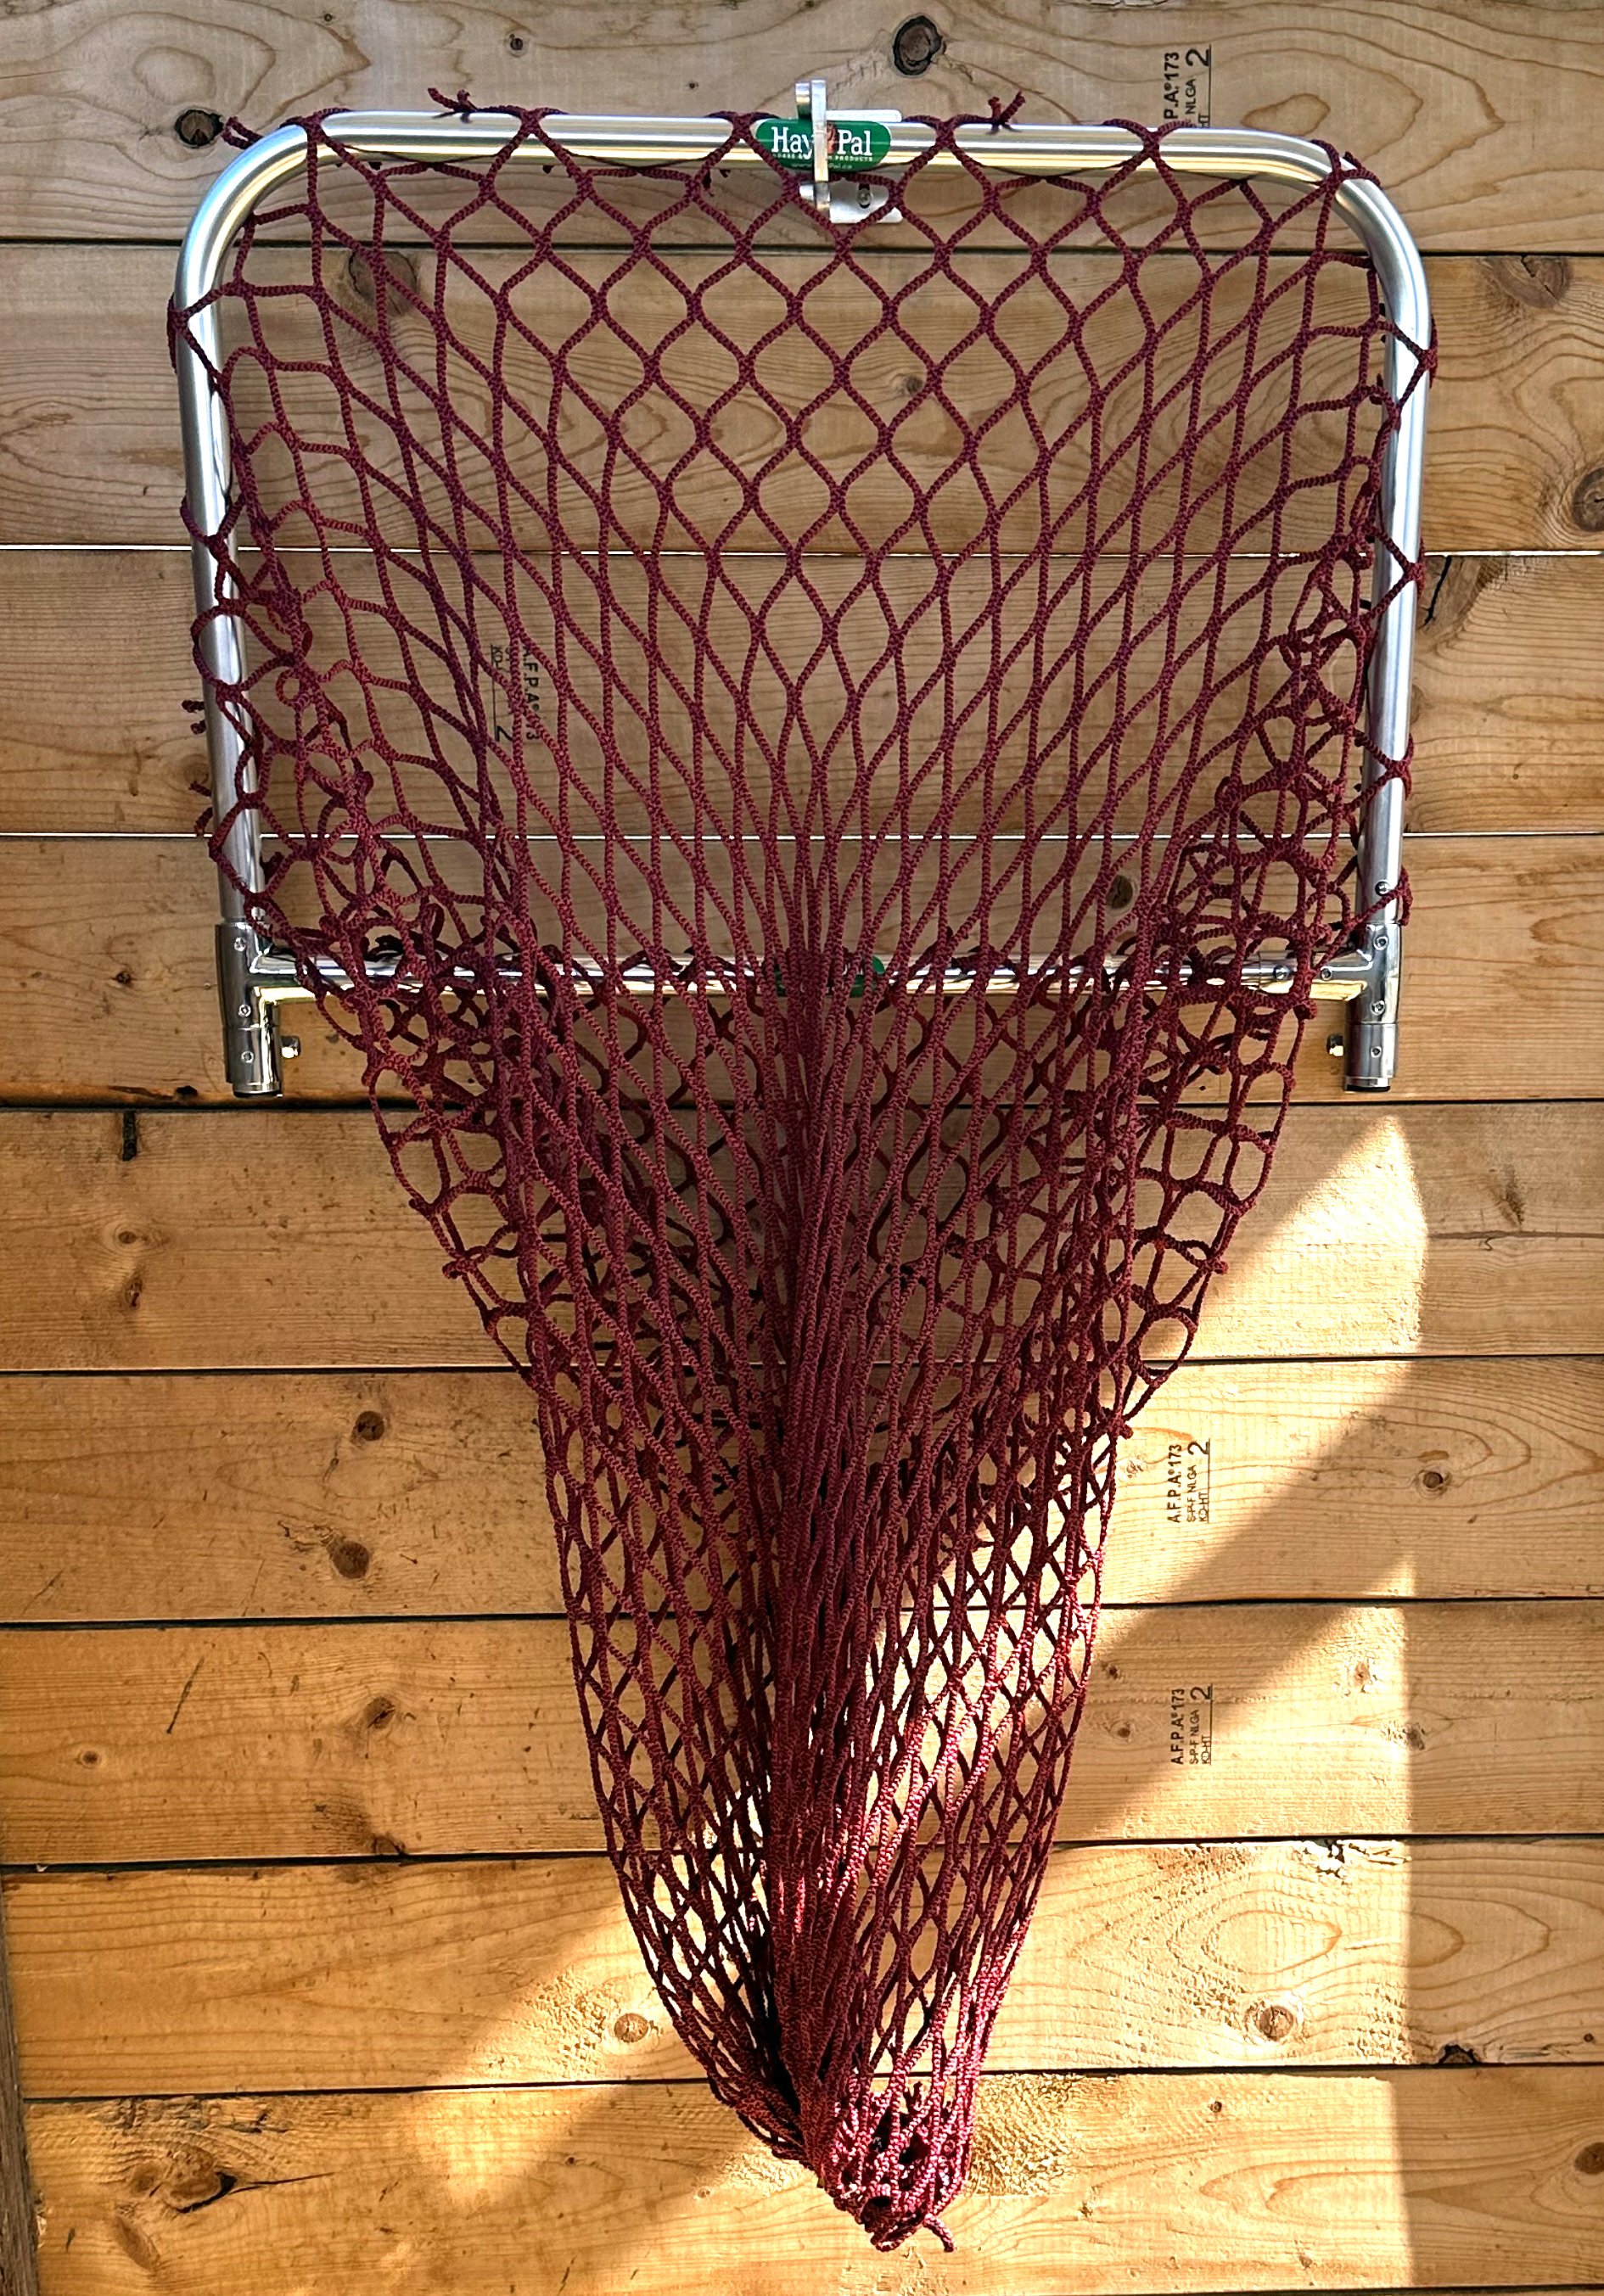
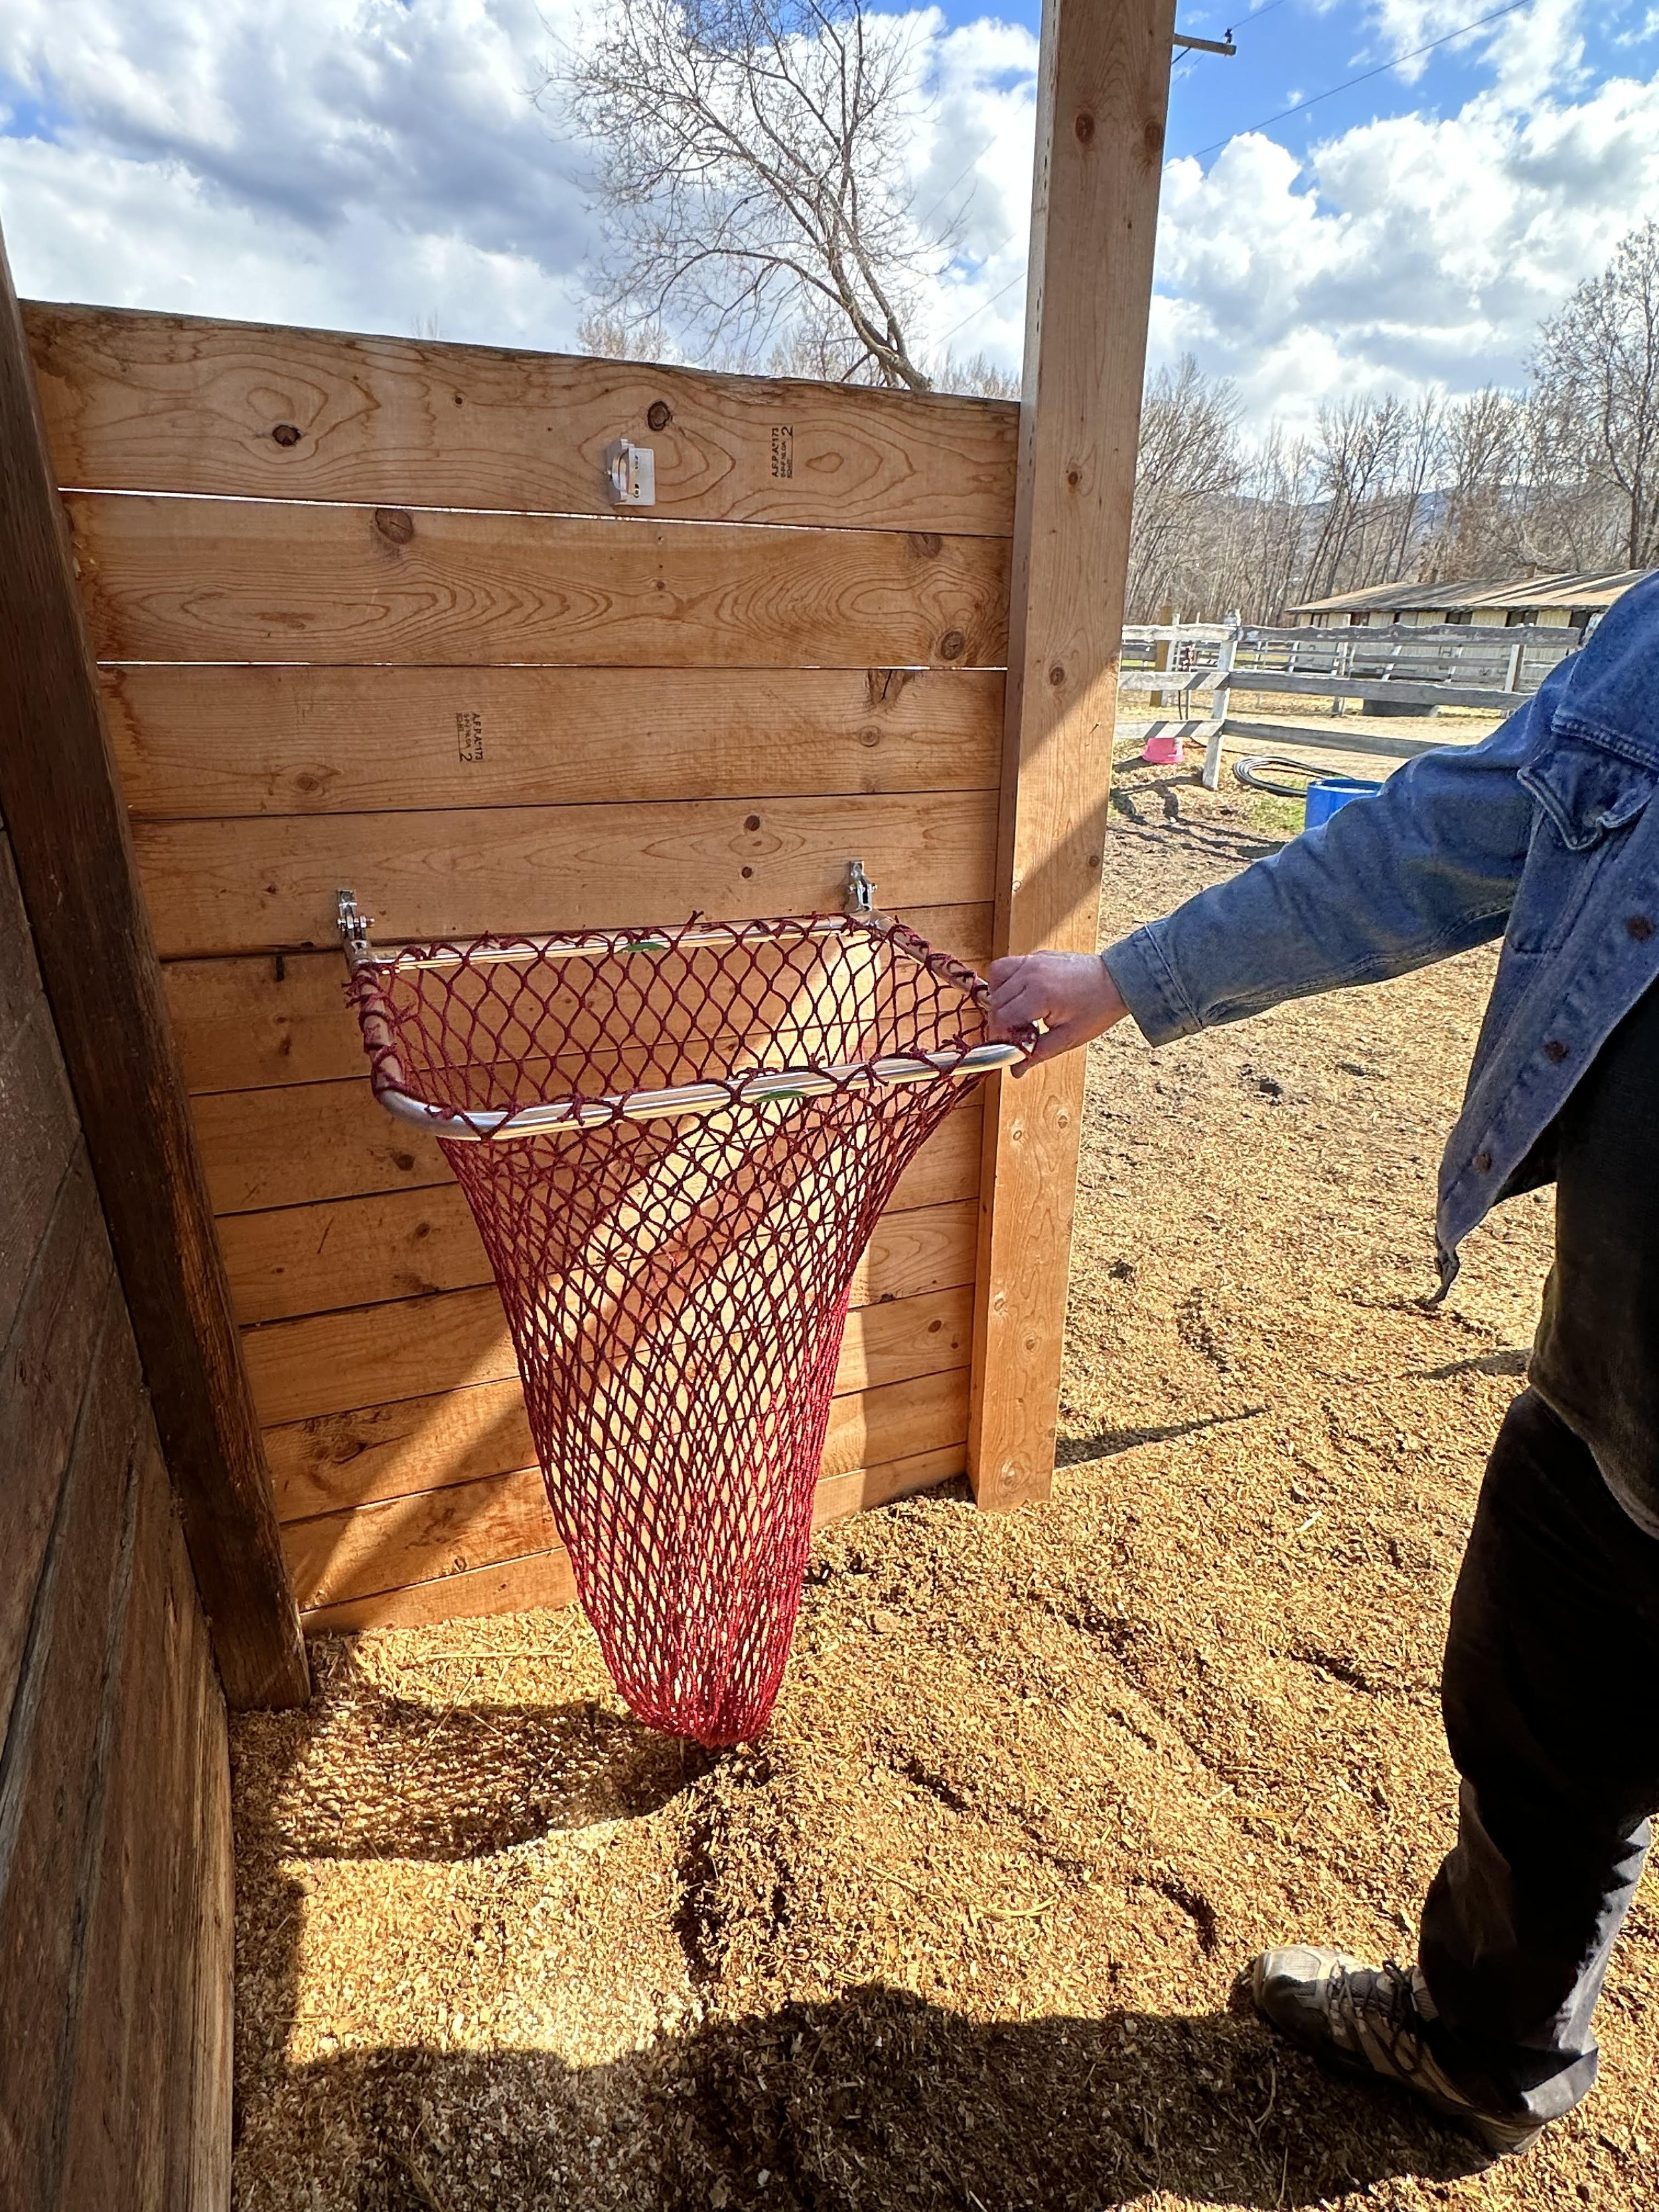
Drop Down Feeder is a versatile hay net feeder and offers the user wall-mount or fence-mount options.


B. Install HayPal Latch onto wall using 2 screws. Do not fully tighten screws, to enable adjustment in next steps.
(Drop Down Feeder comes with your choice of Easy Latch or Not-So-Easy Latch.)
C. Suspend the Drop Down Feeder frame from the Latch and let it hang down against the wall. Ensure lower rail of the feeder is level. Mark the location of the screw holes in the left and right hinges.
D. The first step is to install the bottom-hole screw into each hinge. Keep them loose until final adjustments are made.
E. Install the top hole screws into each hinge. Keep them loose. Open and close the Drop Down Feeder from the Latch a few times. Adjust the position of the Latch by moving it up or down within the screw slots. When the feeder easily disconnect and reconnects from the Latch, tighten all six screws.
Drop Down Feeder Photo Gallery