Fence Top Feeder Specs & Installation
Fence Top Feeder includes:
1 Fence Top Feeder frame
4 Tube clamps
4 screws
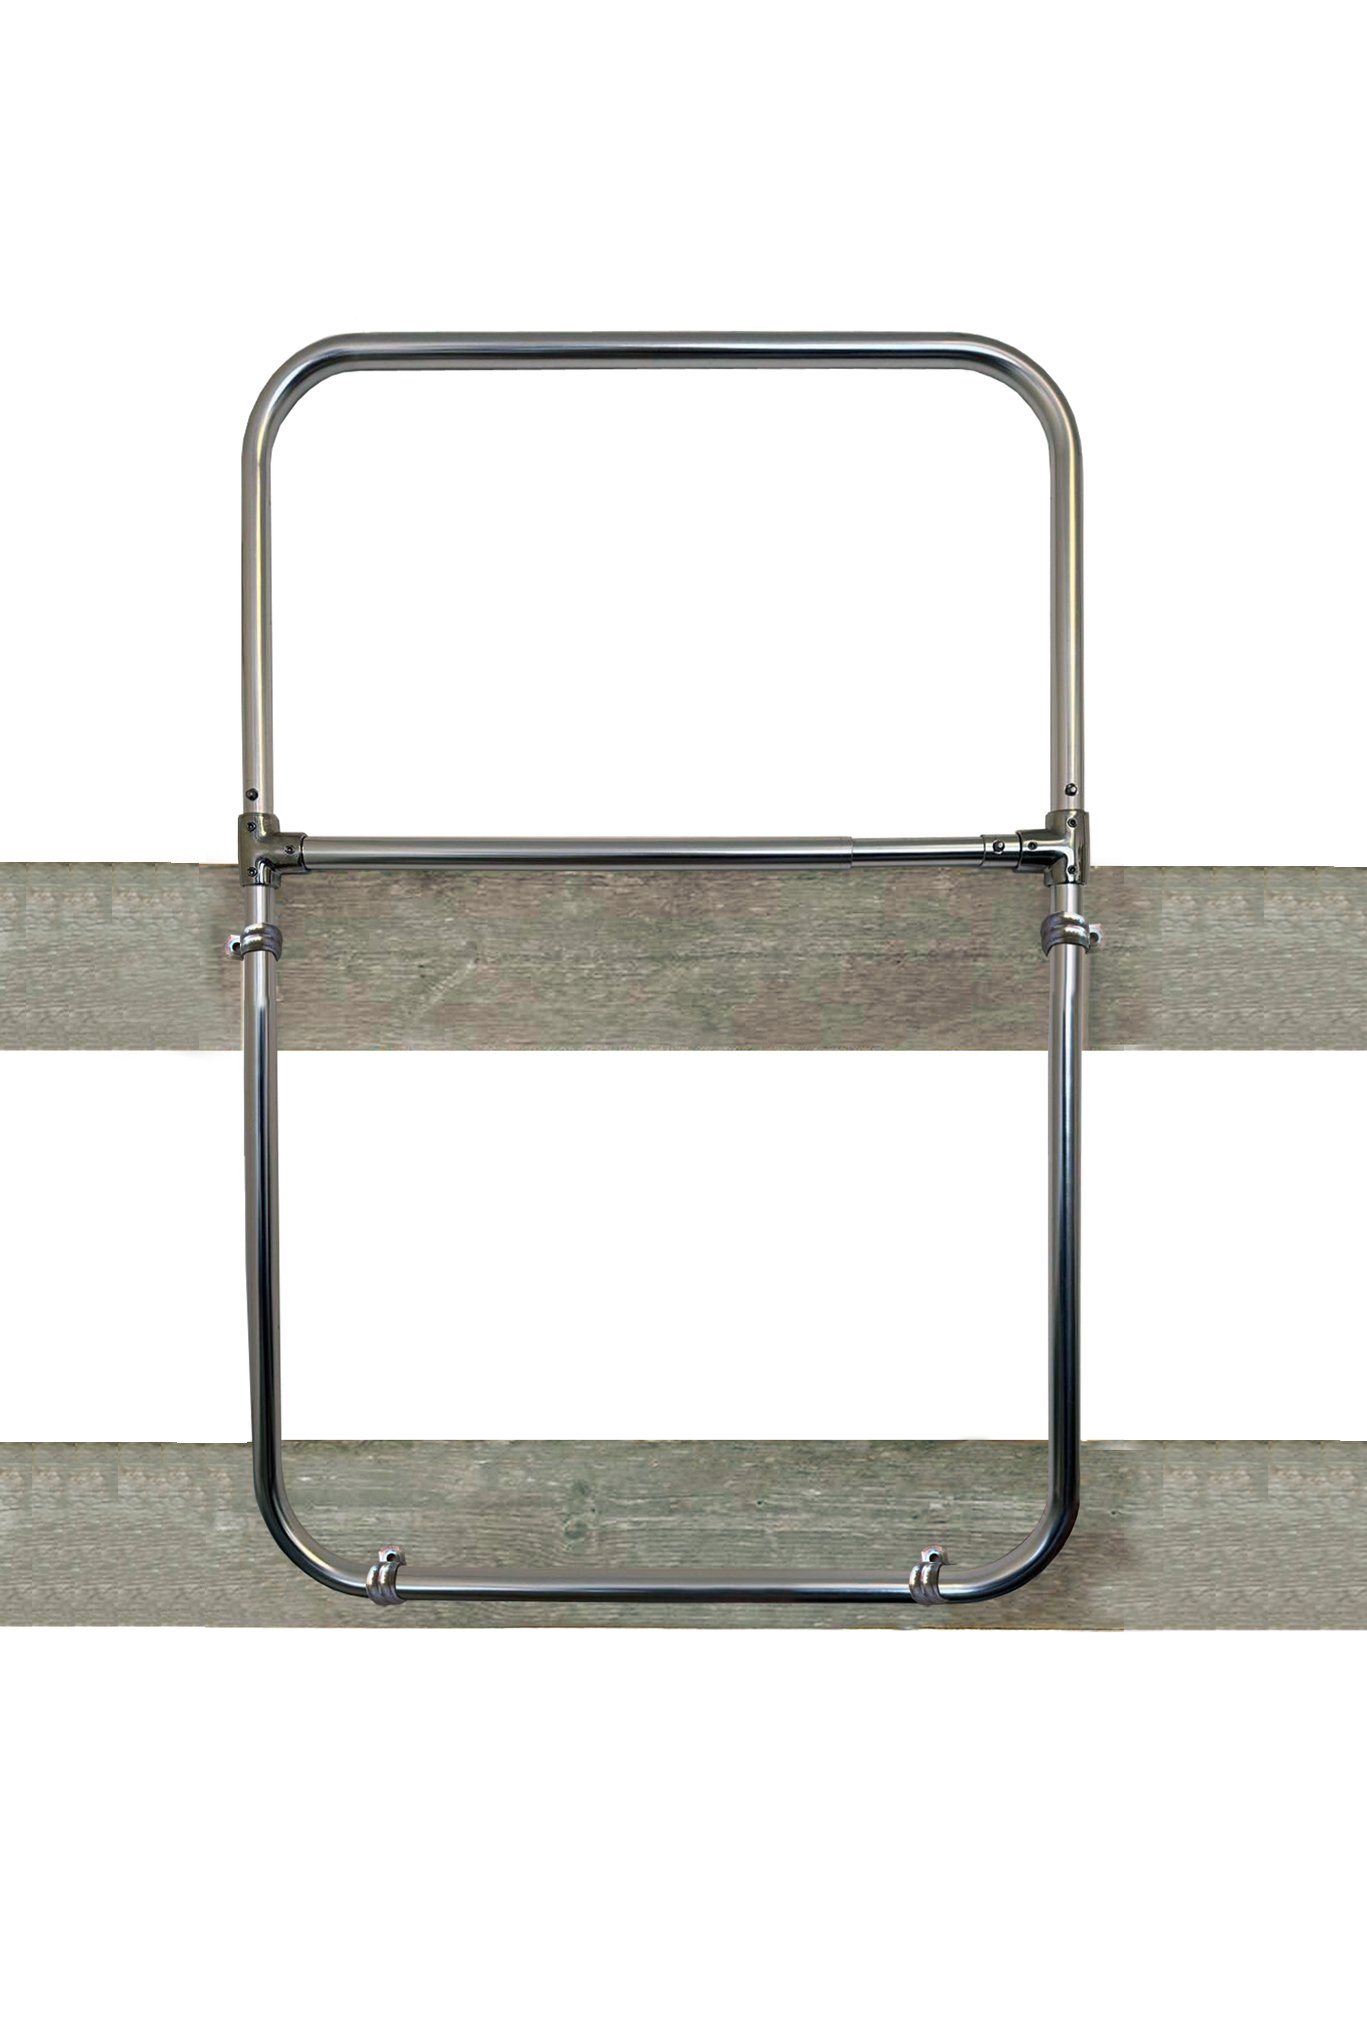
Dimensions: 24” x 36”

It’s best to install a hay net onto Fence Top Feeder prior to mounting onto fence.
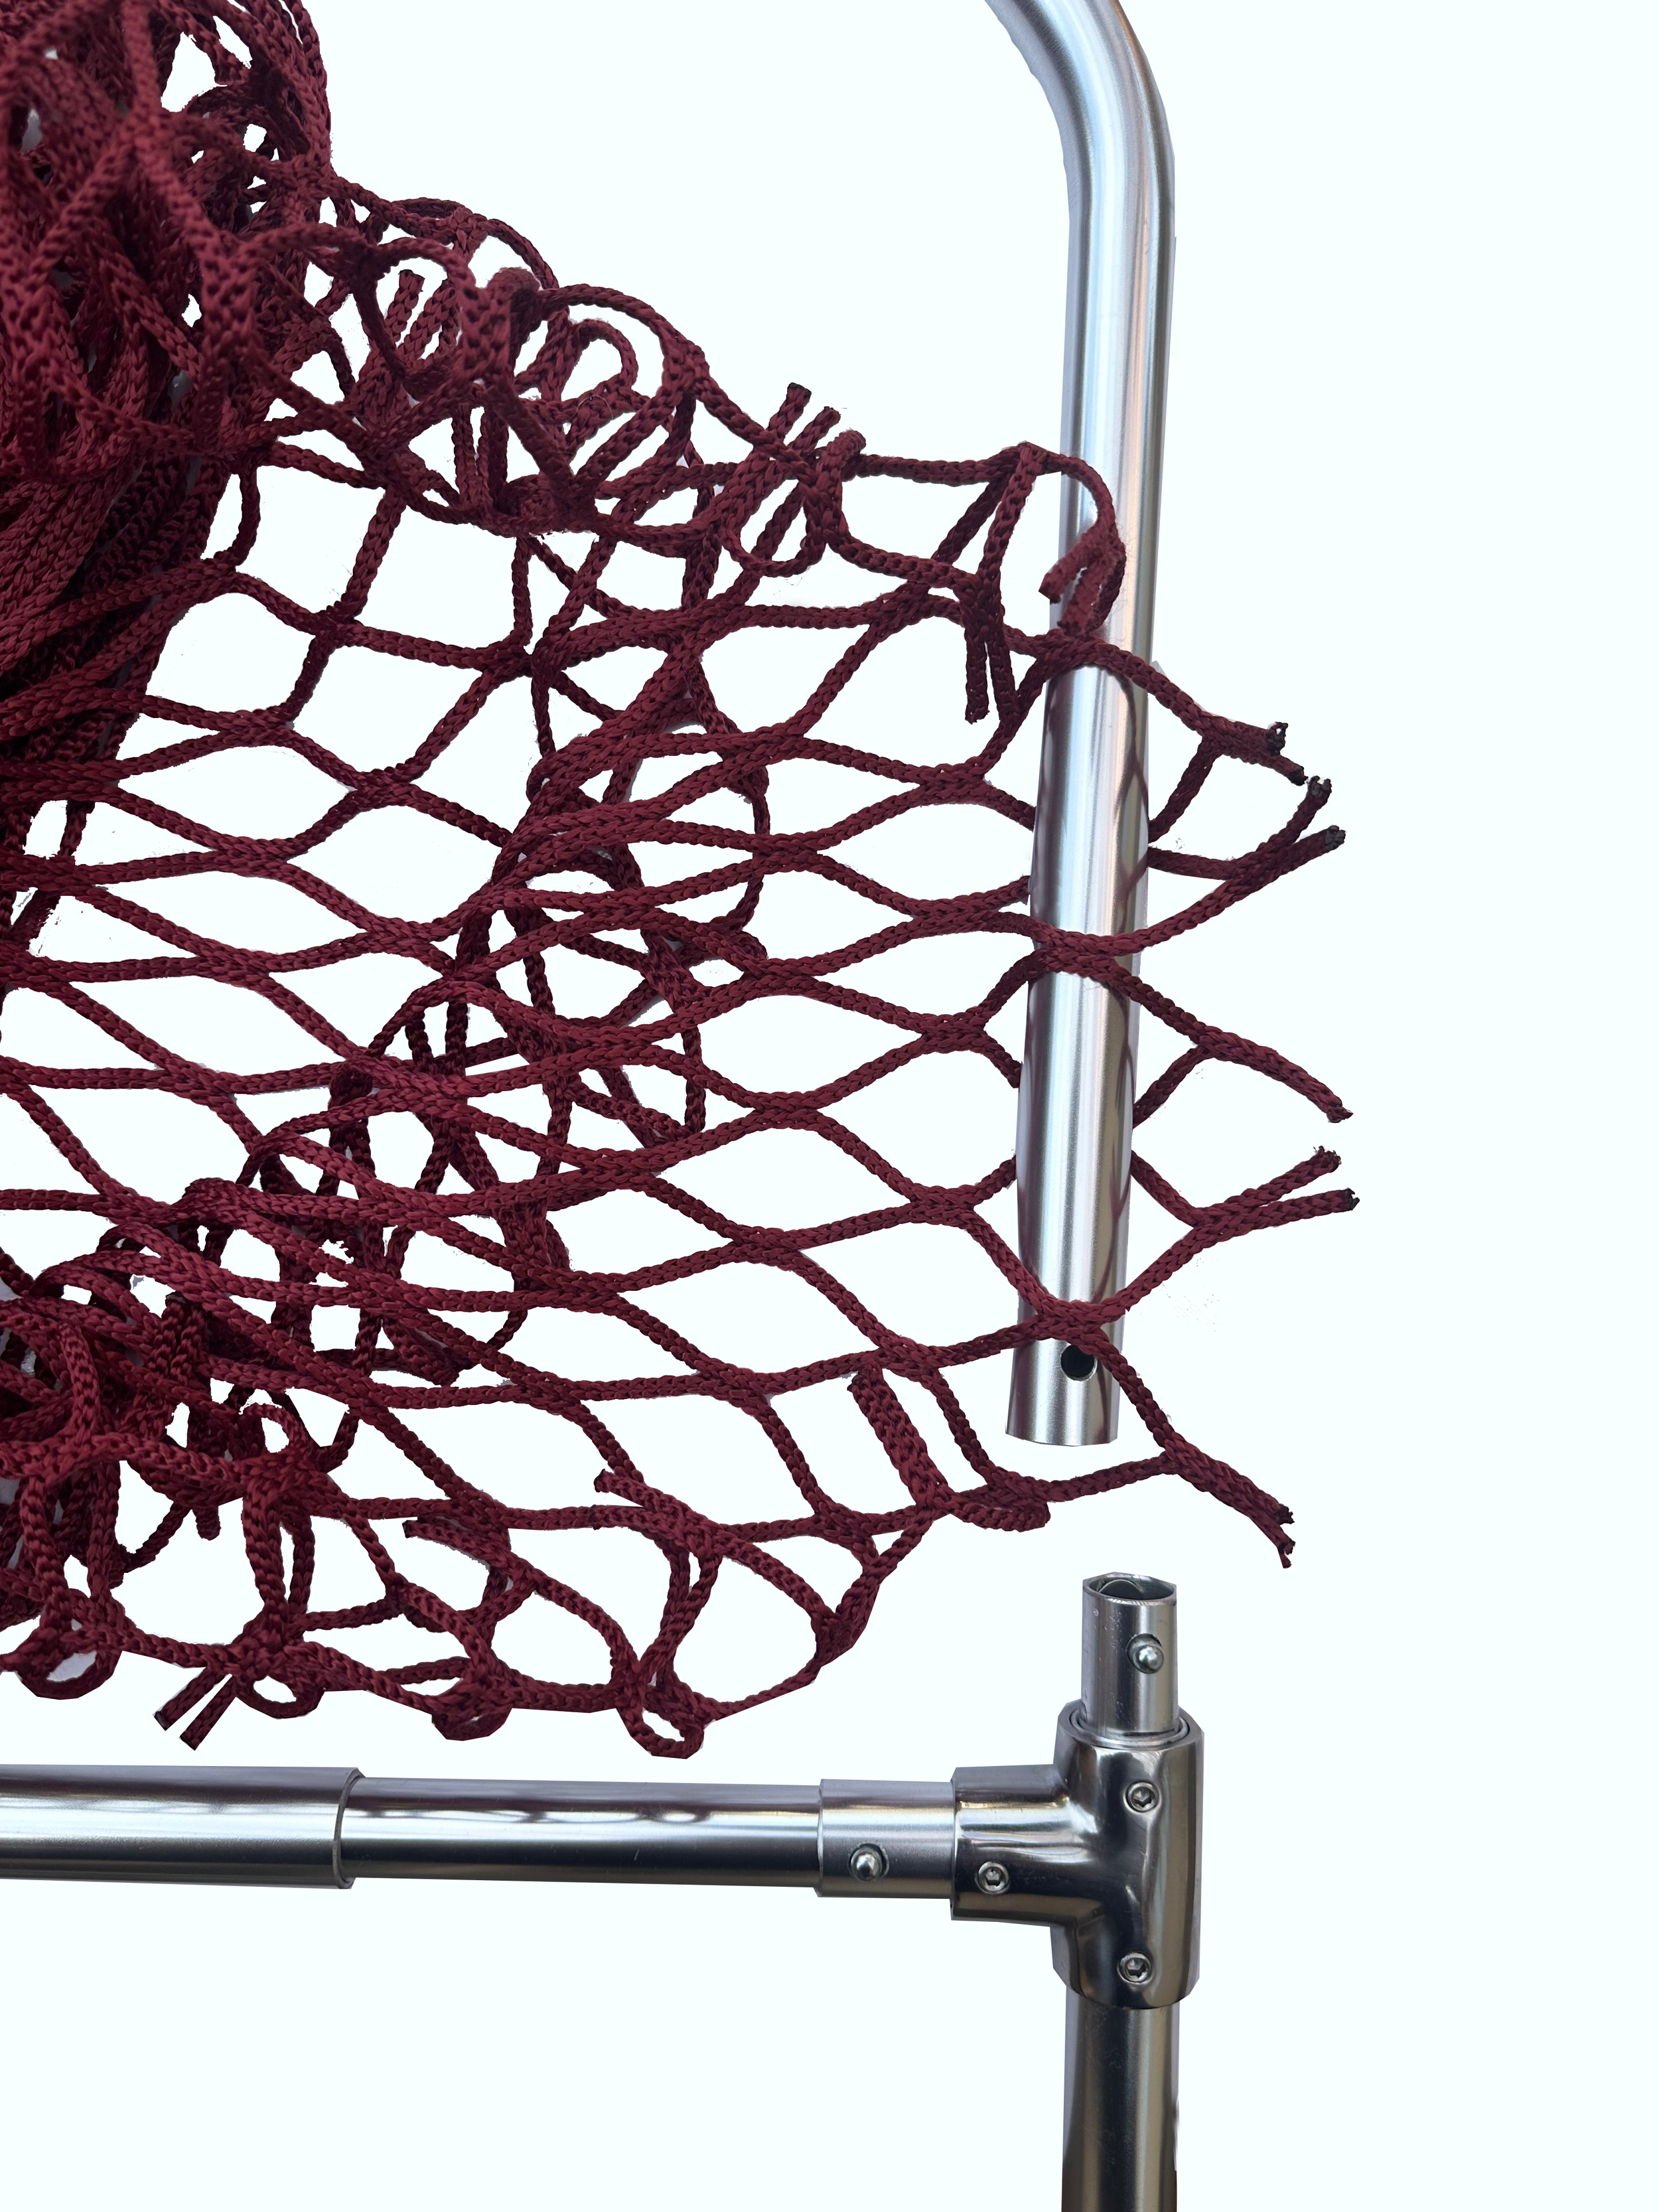
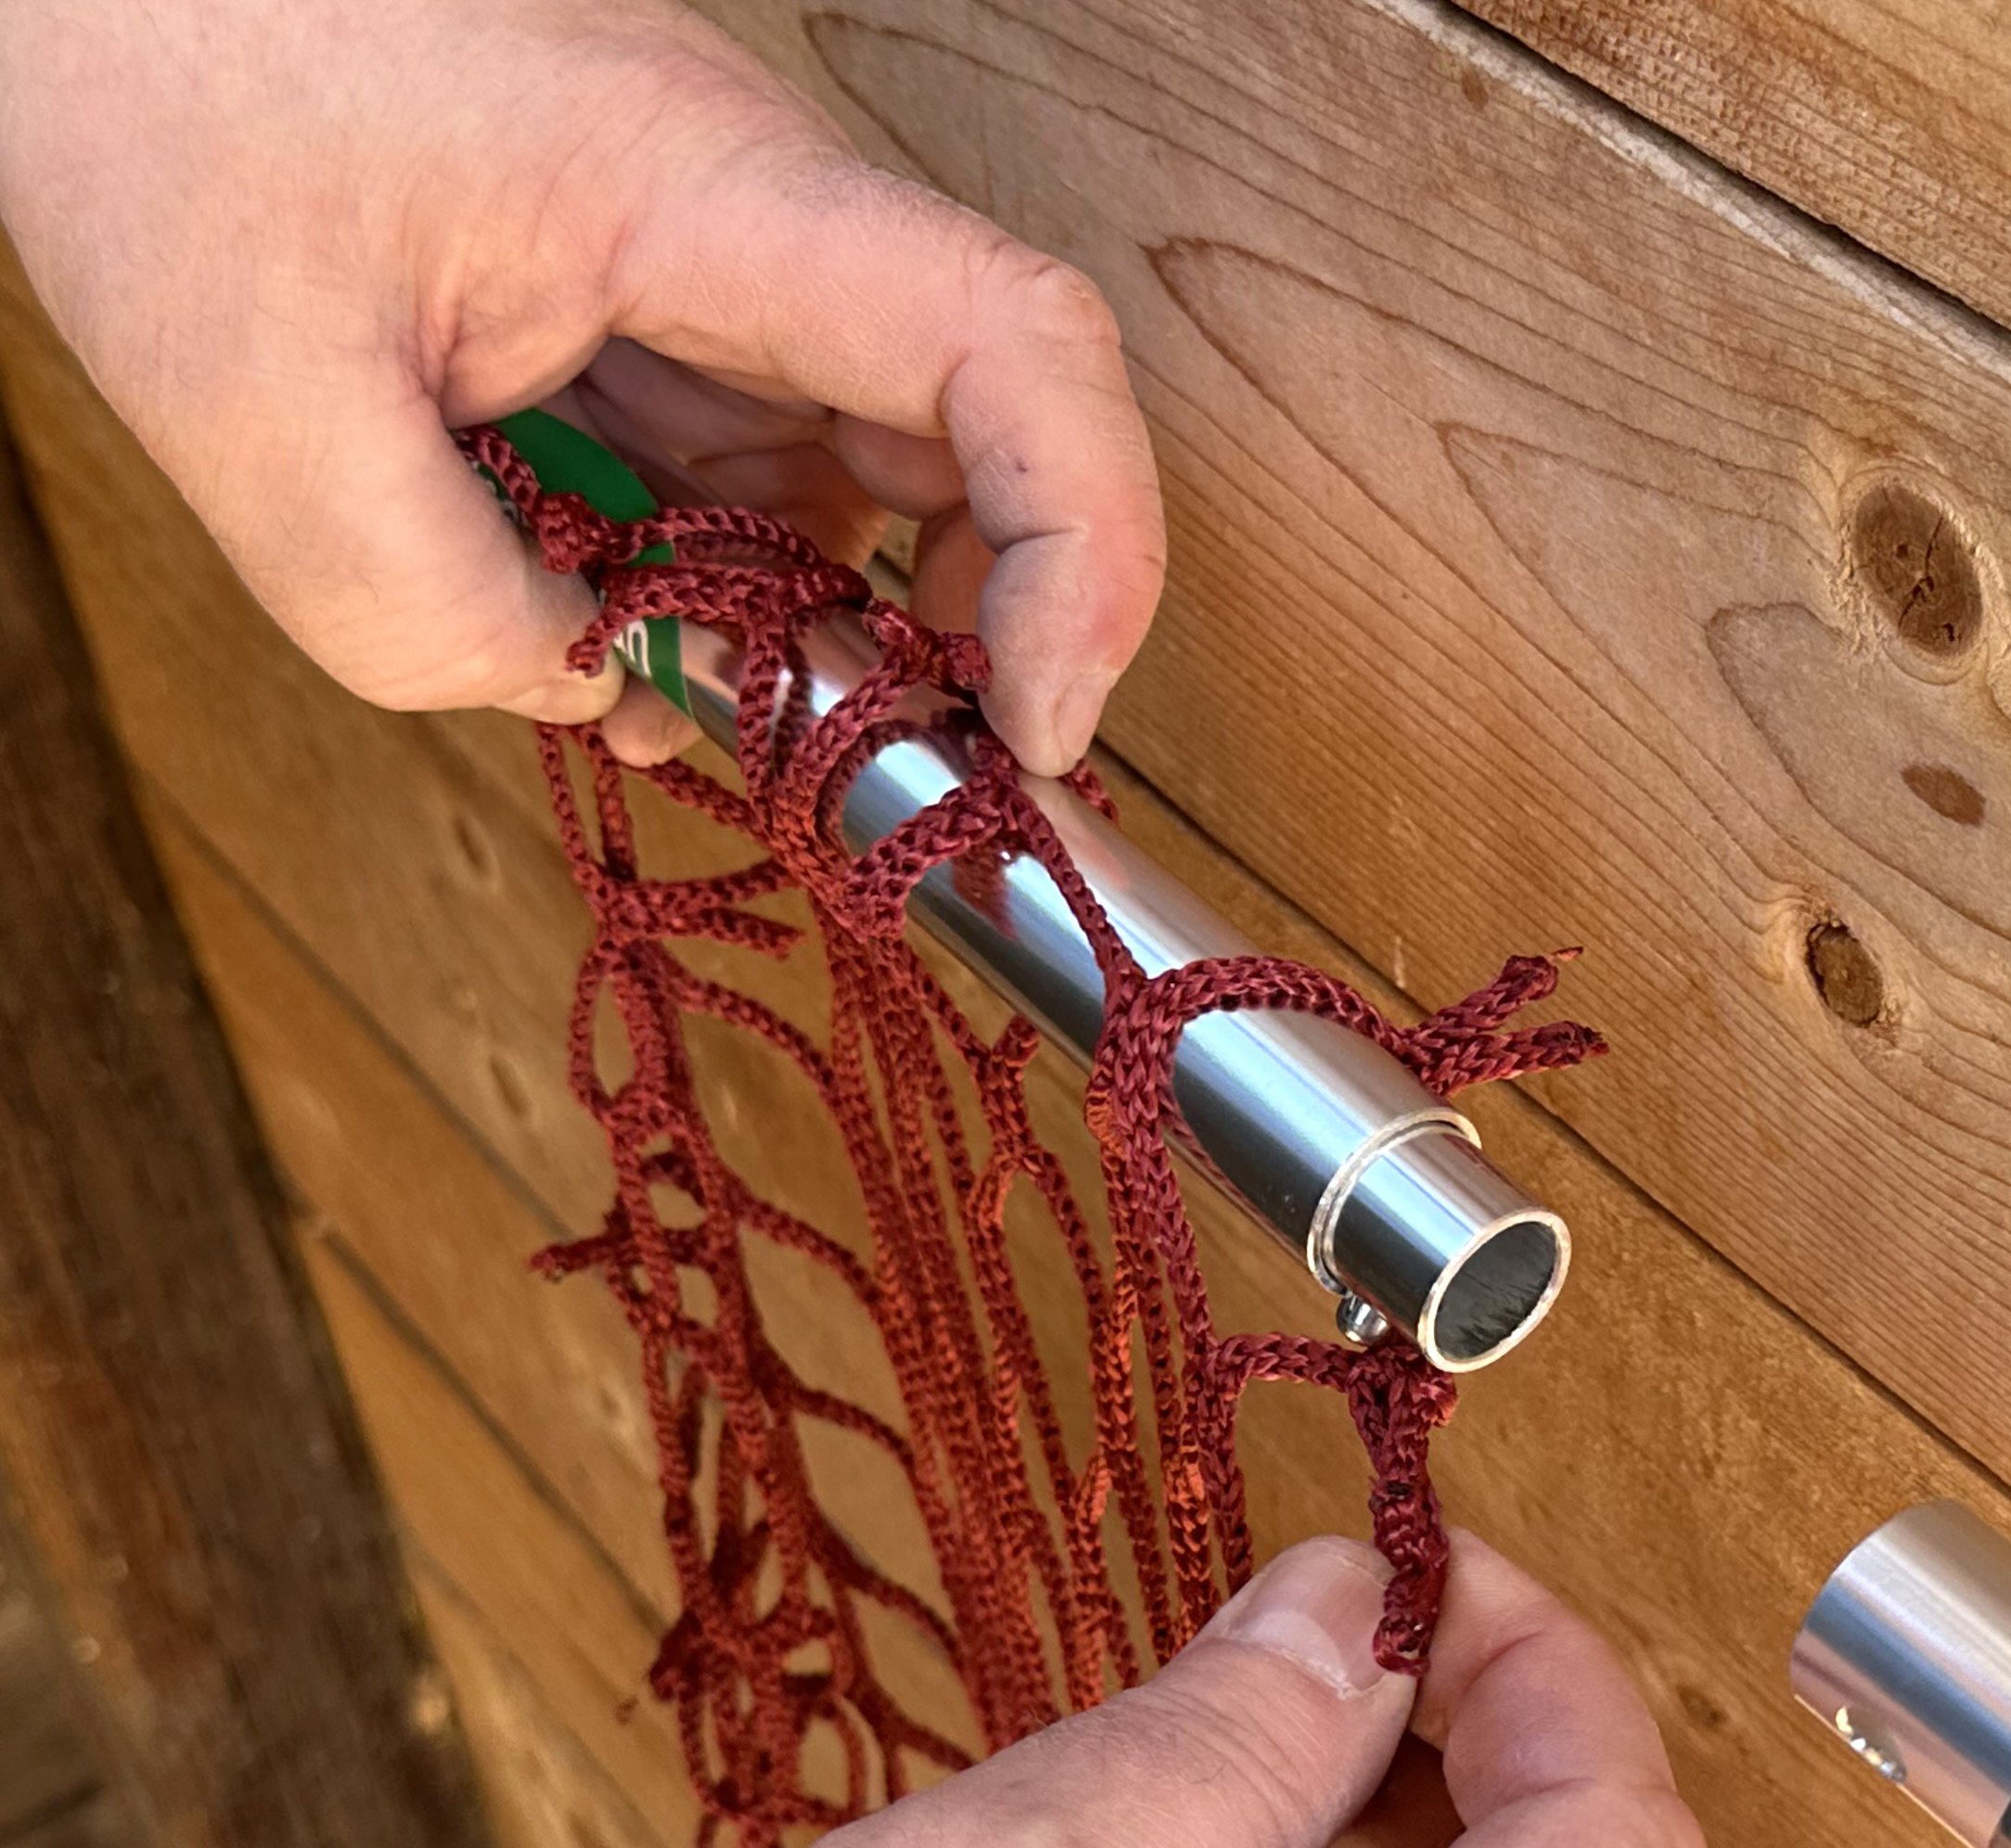
B. Install hay net around top section first. Find the top row of the hay net. Wrap one loop onto the frame, then weave on about 2/3 of the remaining loops. Slide the net around the frame as you load it.

C. With top section still disconnected, weave the remaining net around the mid rail of the frame via the hay net access. When net is full installed, close the mid rail and re-attach the top rail section to the feeder.
Fence Top Feeder is now ready to mount onto the fence.

Installing a hay net onto Fence Top Feeder
A. Remove the top section of FenceTop Feeder by releasing the top rail snap buttons (numbers (1) and (2) on diagram. Release snap button (3) (see pictures) and slide open the hay net access on the midrail section.
B. Place 4 tube clamps around FenceTop Feeder, securing it to two fence rails. Recommended locations for the tube clamps are: one on each side (left and right) of the upper fence rail, and two along the bottom rail secured to the lower fence rail. Install a screw into each tube clamp.

C. Ensure that hay net rests on the horse-side of fence. Double check that bottom of hay net is minimum 6” off the ground.
FenceTop Feeder is ready to use.

Mounting Fence Top Feeder onto a fence
A. Position FenceTop Feeder with the middle bar resting just at the top of the fence (as shown). If necessary, adjust the length of the hay net to ensure the bottom of the empty net sits minimum 6” above the ground. This is a safety requirement.